LJVapes - Blog
When and How to Change Your Vape Coil
Vapes are an excellent alternative to smoking. But to ensure a smoothing vaping experience and longevity, regularly changing the coil is essential.
Vape coils are made of wire and wick. The e-juice is sucked by the wick, which is heated by the wire. But with regular heating and cooling, the coil eventually burns out. That’s why changing it is crucial to maintain it. Read on to discover when and how to change vape coils.
When to Change Your Vape Coil
Depending on your vaping habits, vape coils require changing at different intervals, ranging from once a month to once a week. Here are some signs that indicate a damaged coil:
Burning Taste
The most obvious sign that your vape coil needs to be replaced is when it starts giving off a foul burning taste.
Gurgling Sounds
If your vape makes gurgling sounds, it is a sign that your coil needs replacing. But if it still makes the sound even after changing coils, you may need to get a new vape entirely.
A Weird Taste
If the taste of the e-juice doesn’t quite hit the mark, it means your coil isn’t working properly and needs replacement.
Reduced Vapor
When your vape isn’t producing as much vapor as it used to, it’s a sign that your coil replacement is overdue.
How to Change Your Vape Coil
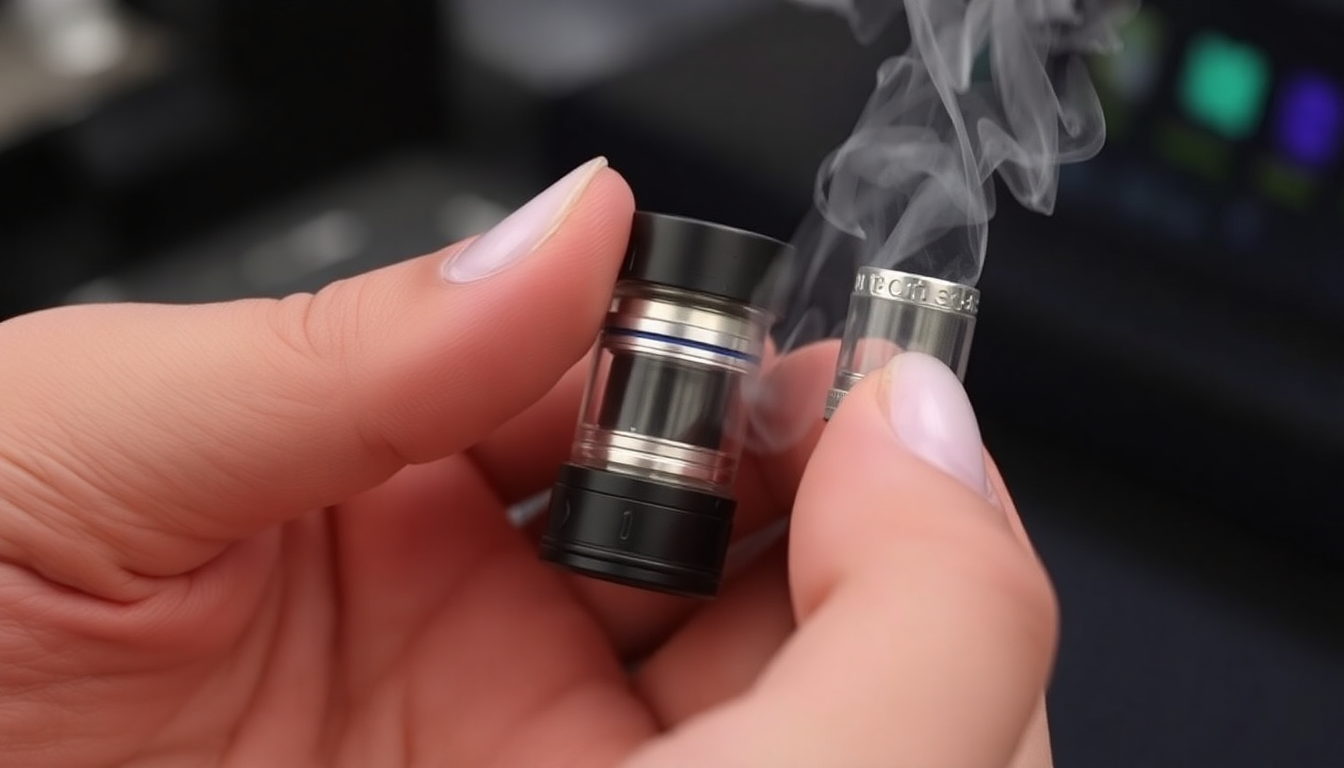
Changing your vape coil isn’t a complicated thing to do. After doing it once or twice, you’ll be able to change it like a pro. Here are all the steps involved:
Remove the Tank
Check your vape manual to see how it is built if you’re unsure. Generally, the tank is at the bottom and needs to be unscrewed. Flip the tank upside down and rotate it in the anti-clockwise direction to remove it.
Empty the Tank
Once the tank is out, ensure all the e-juice is emptied before replacing the coil.
Soak the Wick with Juice
Never put a dry coil into the vape. Instead, soak the wick of the coil with e-juice. Generally, 5 to 10 drops are enough.
Replace the Coil
Unscrew the old coil from the bottom of the device and replace it with the new pre-soaked one.
Refill the Tank
Once the coil is set, screw the tank back on and fill it with the e-juice. Your coil has been replaced and is ready to use.
The Bottom Line
Knowing when and how to replace your vape coil is essential. The best part is that changing the coil is not difficult and something you can learn to grow after two or three attempts.

